As an Amazon Associate, we earn from qualifying purchases. This helps support our site at no extra cost to you.
Find golf cart grease points from the exact vehicle and suspension instructions before attaching a grease gun. A count copied from another Club Car, E-Z-GO or Yamaha can send you looking for fittings that your cart does not have, or applying grease where a different lubricant belongs. Match the component, lubricant, interval and quantity separately.
This guide is for an owner identifying service points and preparing a useful maintenance record. It does not replace a service manual for dismantling steering, lifting the cart or repairing brakes. If you already have looseness, binding or damaged suspension parts, start with diagnosis rather than adding grease to see whether the noise disappears.
Golf cart grease points: what four manuals actually show
On October 24, 2026, we compared the maintenance and lubrication sections of four manufacturer manuals. We recorded document identity, the named assembly, whether an owner-facing fitting instruction appeared, and any lubricant or quantity restriction. The table is our document comparison, not a physical inspection or a survey of every cart sold under these brands.
| Exact reference | What the owner-facing instructions establish |
|---|---|
| E-Z-GO Valor 6, 48V, 10025377-D, labeled 2024-current | A lubrication diagram identifies kingpin and rack ball-joint areas. A fitting entry names universal-joint grease or equivalent and limits quantity. |
| E-Z-GO RXV ELiTE, 10193239-B, 2027+ | Steering and suspension inspections appear, but these owner-maintenance sections do not supply the Valor fitting recipe. |
| Yamaha DR2 AC, J0J-F8199-38-E0, model year 2027 | The chart includes cleaning/lubricating the pedal-control area. That entry is not a front-suspension zerk-location chart. |
| Club Car Onward, ERIC/Subaru EX-40, 105342007, Edition A | The schedule distinguishes front-suspension fittings from lifted control-arm bushings, with different lubricant entries. |
The first three references are linked from current manufacturer libraries. The Onward document is an older, configuration-specific manufacturer manual hosted by a distributor, included to test the claim that one fitting count covers an entire brand. It is not presented as the current manual for every Onward. This deliberately small sample demonstrates different instructions; it cannot establish a failure rate, the condition of your cart or every later production change.
Our practical finding: record what the document authorizes, not just how many metal nipples you can see. An inspection entry, a spray-lubricant entry and a grease-fitting entry need different actions. If the owner's manual sends a task to a service manual, keep that distinction on your checklist.
Valor 6: a quantity ceiling is not a filling target
E-Z-GO's Valor 6 manual, printed pages 24, 25 and 31, gives general lubrication at 50 hours or three months, whichever arrives first. Its diagram labels the kingpin and rack ball-joint areas. The manual specifies no more than three pumps per fitting at one time and warns about seal damage from excess grease.
Treat that as a ceiling for this application, not an instruction to put three pumps into every joint. Do not substitute a universal “pump until it comes out” rule. Confirm your own manual through the E-Z-GO owner library, particularly if the vehicle has replacement steering or a lift.
RXV ELiTE: an inspection chart is not the Valor diagram
RXV ELiTE manual 10193239-B, printed pages 24-25, lists checks for steering, tie rods and front suspension. Those sections do not give the Valor 6 grease-fitting instruction. That absence is not evidence that every RXV part is sealed for life. Obtain the applicable service information when the installed assembly's lubrication requirements remain unclear.
Use our TXT versus RXV guide and E-Z-GO model identification guide to separate platform names before requesting documentation. “E-Z-GO electric” leaves too much unresolved.
Yamaha DR2 AC: name the part being lubricated
The 2027 Yamaha DR2 AC manual, printed page 23, includes cleaning and lubrication of the pedal-control area. It does not turn that task into permission to inject grease into a steering joint. Yamaha's maintenance support page directs owners to the matching owner's manual for periodic inspection details.
For a Yamaha cart, record the model code and the particular task before selecting a product. A gas-clutch instruction, pedal-pivot instruction and suspension instruction should not be interchanged because all three use the word “lubricate.”
Onward: fittings and lifted bushings are separate entries
Club Car's Onward manual 105342007, Edition A, printed page 43, lists two front-suspension fittings with EP NLGI Grade 2 chassis lubricant. The lifted control-arm bushing entry separately specifies CRC silicone spray. The manual requires matching its applicable vehicle build range.
This is enough to reject “every Club Car has five fittings” as an owner-service rule. It does not tell you the fitting count on an unrelated DS, Precedent or newly modified Onward. Identify your Club Car and suspension before using a numbered diagram found online.
Identify the assembly before reaching for the gun
Start with the vehicle serial label, exact model, drive system and installed suspension. Our serial-number guide helps locate identification. Photograph the front end and any lift-kit identification from a safe, accessible position. A dealer can use those images to distinguish original equipment from replacement parts.
Write down which side of the cart you photographed. A close-up without a wider view can be difficult to orient later. Keep the manual number and page beside the image, then ask the supplier to resolve any mismatch between the diagram and hardware. Do not rename an unknown part merely to make it fit the chart.
Use these three statuses in your record:
- Confirmed owner service: the exact assembly, product, access method and procedure are documented and within your ability.
- Technician procedure: the manufacturer assigns the work to qualified service, or access involves work you cannot perform safely.
- Unresolved: the part, fitting, lubricant or applicability is still unknown. Photograph it and obtain an answer before adding lubricant.
A grease fitting is a service connection. Its presence alone does not identify the correct grease, amount or service interval. A bolt, cap or damaged boot is not a substitute connection. Do not drill a sealed component or install a fitting to make an internet diagram match your cart.
For an aftermarket lift, retain the kit's own installation and maintenance instructions. Our lift-kit fitment guide explains why cart identity alone does not establish the installed geometry. If the kit instructions conflict with the vehicle manual, ask the manufacturer or installer for written clarification rather than choosing whichever procedure is easier.
Golf cart grease points need the right lubricant
Copy the full lubricant specification into the service record. NLGI defines its consistency grade as a measure of grease consistency. “NLGI 2” by itself does not identify the whole formulation. It does not establish that two products are interchangeable or suitable for the same seal, bushing or application.
NLGI's grease FAQs, particularly questions 16 and 29, explain that different greases can be incompatible and that manufacturers may use dyes to distinguish products. Choose by the approved specification, not a red, blue or green color. Keep the product name and label photograph with the cart's service history.
If the existing grease is unknown, ask for an approved product-change procedure. Industrial advice about purging old grease does not authorize forcing a large volume through a golf-cart joint. The component's quantity and seal restrictions still apply. Mobil's compatibility guidance also explains that mixed greases can change consistency and impair lubrication.
Keep these jobs separate in your notes:
| Service entry | What to verify |
|---|---|
| Grease fitting | Approved product, access, quantity limit and interval |
| Spray or dry lubricant | Exact product and permitted application surfaces |
| Pedal or brake mechanism | Matching procedure, technician requirement and contamination precautions |
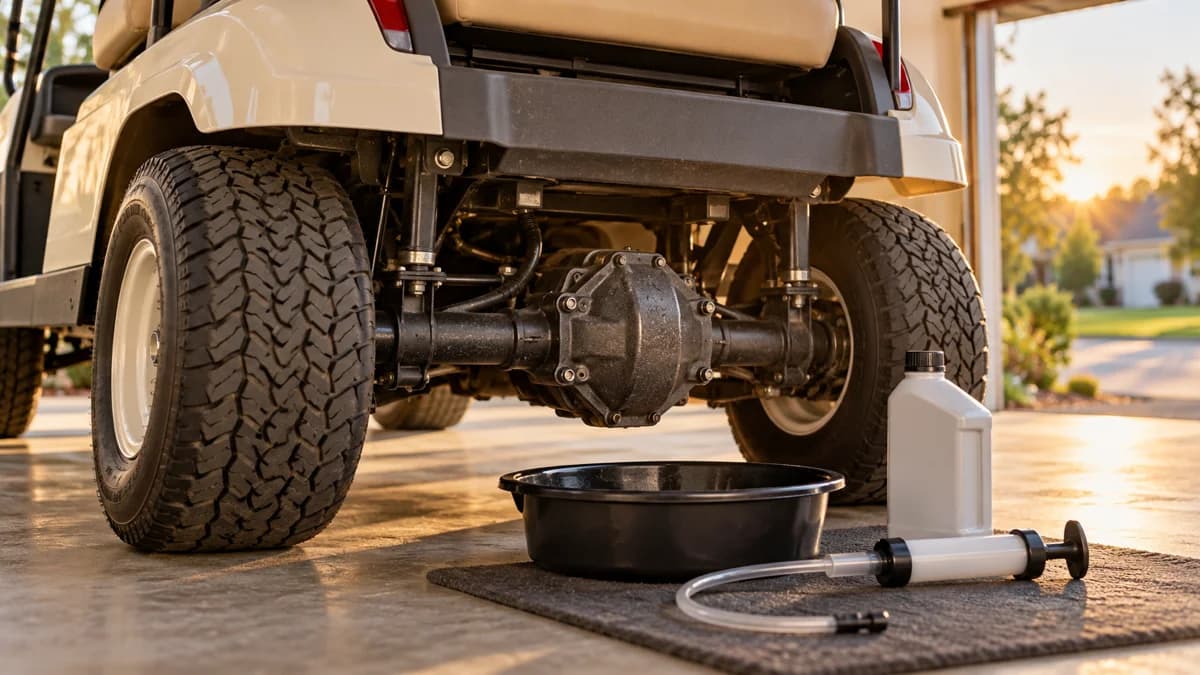
| Axle or differential | Correct fluid and level-check procedure, not a grease-gun task |
Use the differential-oil guide for identifying that separate fluid service. For brakes, follow the exact brake-service procedure; keep lubricant off friction surfaces. A lubrication entry does not authorize spraying the entire brake assembly.
Prepare access and stop when something does not match
Park on firm, level ground and follow the vehicle's shutdown, movement-prevention and energy-isolation instructions for the actual work. Keep people out of the cart. Do not assume a key position alone makes every service task safe. Our tow/run switch guide shows why mode settings depend on the model and task.
Stay outside unsupported underbody spaces. If access requires lifting, use the exact support points and procedure or have a qualified shop do the work. The golf-cart jack guide helps identify the information needed; a jack alone is not a work support.
Before using a grease gun, read its instructions and confirm its hose, coupler and pressure rating are suitable. Lincoln's tool guidance warns about high-pressure discharge and calls for appropriate protection. Keep hands away from a pressurized leak. A blocked fitting is a reason to stop and investigate, not a reason to increase pressure until something gives.
For a confirmed owner-service point, clean the accessible fitting and coupler, use the documented lubricant and quantity procedure, and inspect the result. Do not continue pumping because grease is escaping around a poorly seated coupler. Stop if the fitting will not accept lubricant, the boot is damaged, the seal moves unexpectedly or the instructions do not match the part. Follow the gun's approved pressure-release and disconnection procedure.
Record exactly what happened. “Left-front fitting would not accept grease” gives a repairer a starting point. “Greased front end” conceals that unresolved problem. After work, complete the manufacturer's required checks before returning the cart to use.
Three inspection aids, before more parts
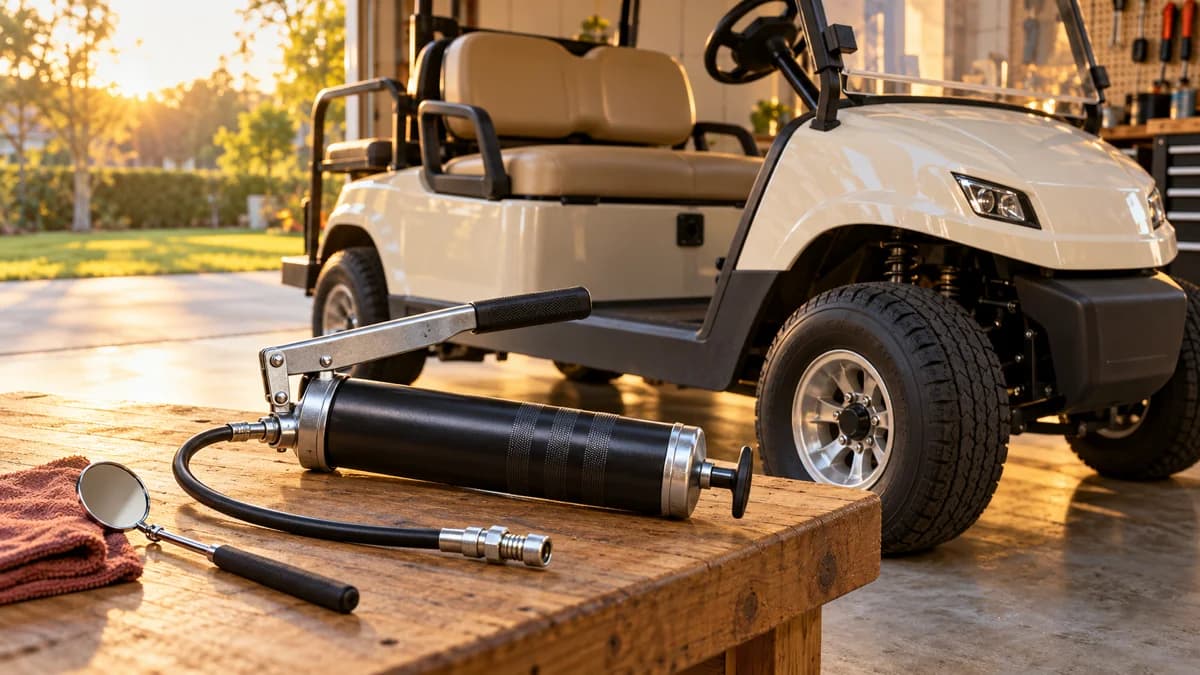
Use tools you already own when they do the job. These are optional aids for parking and identifying parts, not a replacement for proper lifting equipment or a diagnosis. Follow the product instructions and verify suitability for your vehicle. Current seller prices and delivery options appear on Amazon; we do not reproduce Amazon price or stock claims here.
A penlight: the Streamlight 66118 Stylus Pro can help illuminate an accessible fitting or read a part label. Photograph the label rather than reaching around moving or energized components.
Check Price on AmazonAn inspection mirror: the Ullman C-2 can help view the back of an accessible assembly while keeping your head outside an underbody space. A reflection helps identification; it does not establish internal bearing condition.
Ullman C-2 inspection mirror →Wheel chocks: MaxxHaul 70472 chocks are an option to assess against your tire size, ground surface and vehicle instructions. Chocks address movement prevention and do not support a raised cart.
MaxxHaul 70472 wheel chocks →Our owner's tool-kit guide covers other service tools. Choose a grease gun only after confirming that your cart has an applicable owner-service grease task. Buying a larger gun does not resolve an unknown fitting or product specification.
Make a fitting-by-fitting service record
Create one entry per actual service point, with separate entries for spray and fluid tasks. Use the following fields alongside your maintenance checklist. Leave unknowns marked unresolved rather than filling them with another model's settings.
- Vehicle: serial, model, year and drive system.
- Installed assembly: original or replacement suspension, kit number and installer information.
- Evidence: manual number, revision, applicability, page and dated photograph.
- Location: named component and side of cart, with a wider orientation image.
- Product: exact approved lubricant and the product previously used, if known.
- Procedure: owner or technician task, access/support requirements and quantity limit.
- Due point: applicable hours, calendar limit and operating-condition exceptions.
- Outcome: date, hours, product actually used, observations and unresolved issues.
Ask a shop to itemize identification, inspection, lubrication and any proposed replacement separately. Confirm whether its quote includes the actual installed lift or suspension rather than assuming a generic service package covers it. You can locate service providers through our repair directory.
For a rough ride, continue with suspension diagnosis and the correct tire-pressure source. Greasing does not correct an unsuitable pressure setting or prove that a worn component is sound. If wheels are removed during authorized service, use the matching lug-nut torque instructions for reinstallation.
Grease-point questions
Where are the grease points on a golf cart?
Use the lubrication diagram for the exact model and installed suspension. The cited Valor 6 manual identifies kingpin and rack ball-joint locations; the cited Onward manual lists two front-suspension fittings. These are separate applications.
Do all Club Car golf carts have five grease fittings?
Do not use five as a brand-wide count. Club Car Onward manual 105342007, Edition A, lists two front-suspension fittings and separately specifies spray for lifted control-arm bushings. Match your build code and hardware.
How much grease should I pump into an E-Z-GO fitting?
Valor 6 manual 10025377-D limits each fitting to no more than three pumps at one time. That ceiling is not a required dose or a rule for every E-Z-GO model. Follow the exact application and tool instructions.
What grease does a golf cart need?
Match the component specification, not just the brand. The cited Onward front-suspension fitting entry calls for EP NLGI Grade 2 chassis lubricant; its lifted control-arm bushing entry calls for silicone spray instead.
Does an RXV use the same grease chart as a TXT or Valor?
Do not transfer the chart. The cited 2027+ RXV ELiTE manual 10193239-B lists steering and suspension inspections without the Valor 6 grease-fitting recipe. Its silence does not prove every installed part is permanently sealed.
Can I mix two greases if both say NLGI 2?
NLGI 2 describes consistency, not complete formulation or compatibility. Identify the existing product and obtain an approved changeover procedure. Do not force a purge through a sealed joint to replace unknown grease.
Will greasing fix loose steering or a worn ball joint?
Do not treat lubrication as a repair for looseness, damaged boots or binding. Record the symptom and arrange inspection. Stop driving when steering or braking operation is unsafe.
Should I grease a fitting until grease comes out?
Only follow a purge instruction when the matching component procedure explicitly requires it. Do not make visible overflow the target on every cart; the cited Valor 6 manual warns that excess grease can damage seals.
Golf Cart Search
Find the Best Golf Carts of 2026
Compare top-rated models, read expert reviews, and find the perfect cart for your needs.